

Exactly how I've built my meal planning binder
my command central for all things in my kitchen

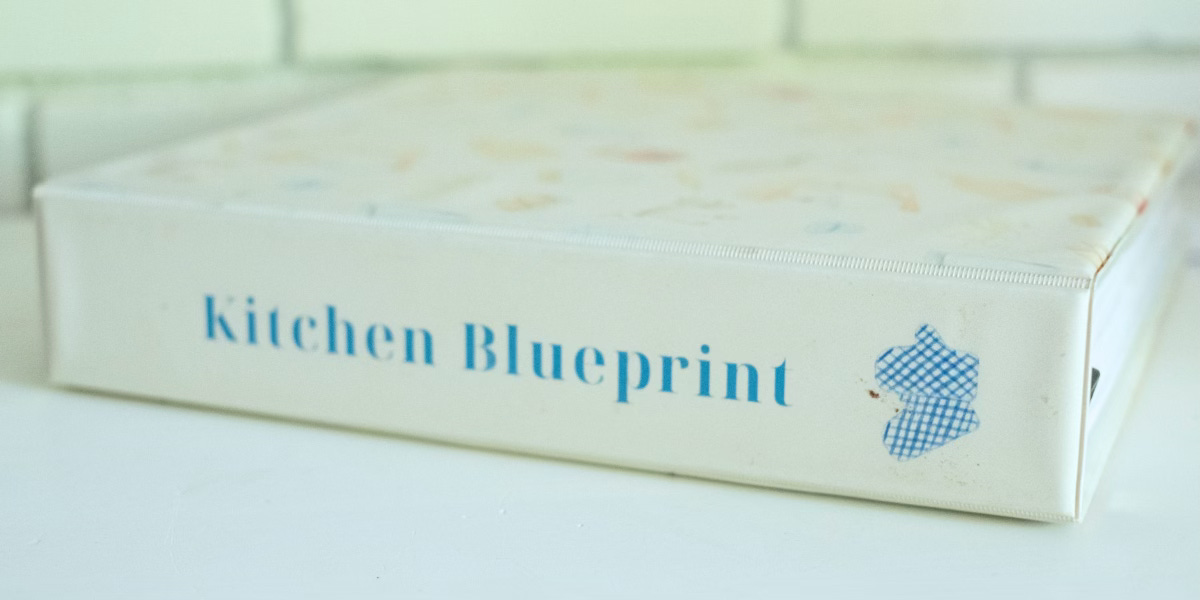
If you’ve seen my infamous meal planning and recipe binder, I wanted to share exactly how I’ve built it for you to make your own. After I put this behemoth together, it made my life so much easier and lifted a big mental burden. I know millennials get a bad wrap for “printing the internet” but I think it’s a lot easier to work with physical copies of recipes as well as pen and paper for planning.
I personally use all my own worksheets and am constantly adding to them as life ebbs and flows. (Also, I have actually made every single one of those recipes in it!)
Why do this?
My biggest reason for building this binder is to have everything in one place. In order to keep a routine, it needs to be easy. Each week I grab this binder and go through the same steps instead of sitting down to a blank sheet of paper. Anything and everything that has to do with my kitchen in brain dumped into this binder: goals, go to meal lists by topic, my weekly meal planning pad, my evergreen grocery list, and all of my recipes organized by category.
Supplies:
The Binder I use: you do not need this one. Any old three ring binder will work. However, I have them available on Zazzle where you can customize the spine with your family’s name.
Tabs for organizing your recipes
Print out the worksheets: I’ll have my exact worksheets below for paid subscribers. You’ll still get the gist of meal planning without them, but I feel like they are the “recipe” for success to be able to quickly meal plan in 5 minutes-ish.
Set up the binder.
In the front of the notebook, I put all my printed out worksheets in page protectors in order. By doing this, I will be able to follow the steps each week without having to think at all.
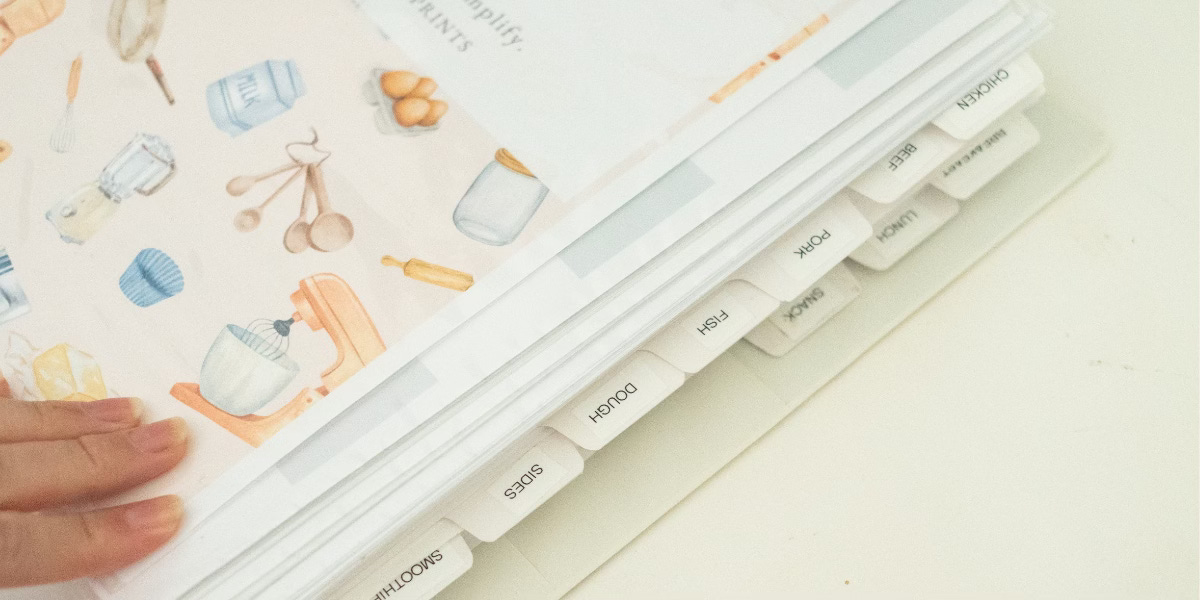
After the worksheet, I set up my recipes. (Maybe you haven’t cooked a lot and that’s ok. You’ll have a fresh place to start. I’ll help you get started with picking recipes in future posts.) I personally like to organize mine first by type of meat and then by meal. My categories are as follows:
Chicken
Beef
Pork
Dough (aka breads)
Sides (mostly potato dishes ha!)
Breakfast
Lunch
Snacks
Soups/Smoothies
Desserts
Here’s the logic behind it: we often buy our meat in bulk so I will pick dinner ideas based off of a type of meat that we have on hand. (We also rarely eat fish at home.) When I rotationally bulk meal prep, I am usually doing it based off the other categories. It just makes it so much easier to find recipes in my mind. (I also have a completely separate binder for holidays that I will get to later in the year! It follows similar planning and prepping methodologies modified for holidays. )
Please modify this to fit your family’s needs: You could keep it simple with meat categories, breakfast, snacks, desserts. I have a LOT of recipes so I got more granular to find them. The great thing is you can always adapt this system as your needs change. That’s what I love about it. When I started this system, I had a baby and a toddler. Now I have sports and school, and another baby ha! The principles have stayed the same, all that has changed is what I prep and when I prep it.
Now that you have this set up, we will move on to preparing your kitchen in the next post! I know this may seem like a lot at first, but doing some prep work BEFORE you start the habit is what really will make you successful. Learning to set up the system is the magic to keep you maintaining the habit for years to come.
Below are the worksheets and example worksheets for paid subscribers:
