

Easy Grain-Free Cherry Cobbler (Dairy-Free Option)
Naturally sweetened and crowd-pleasing, this cobbler is a perfect summer dessert—especially with a scoop of vanilla ice cream

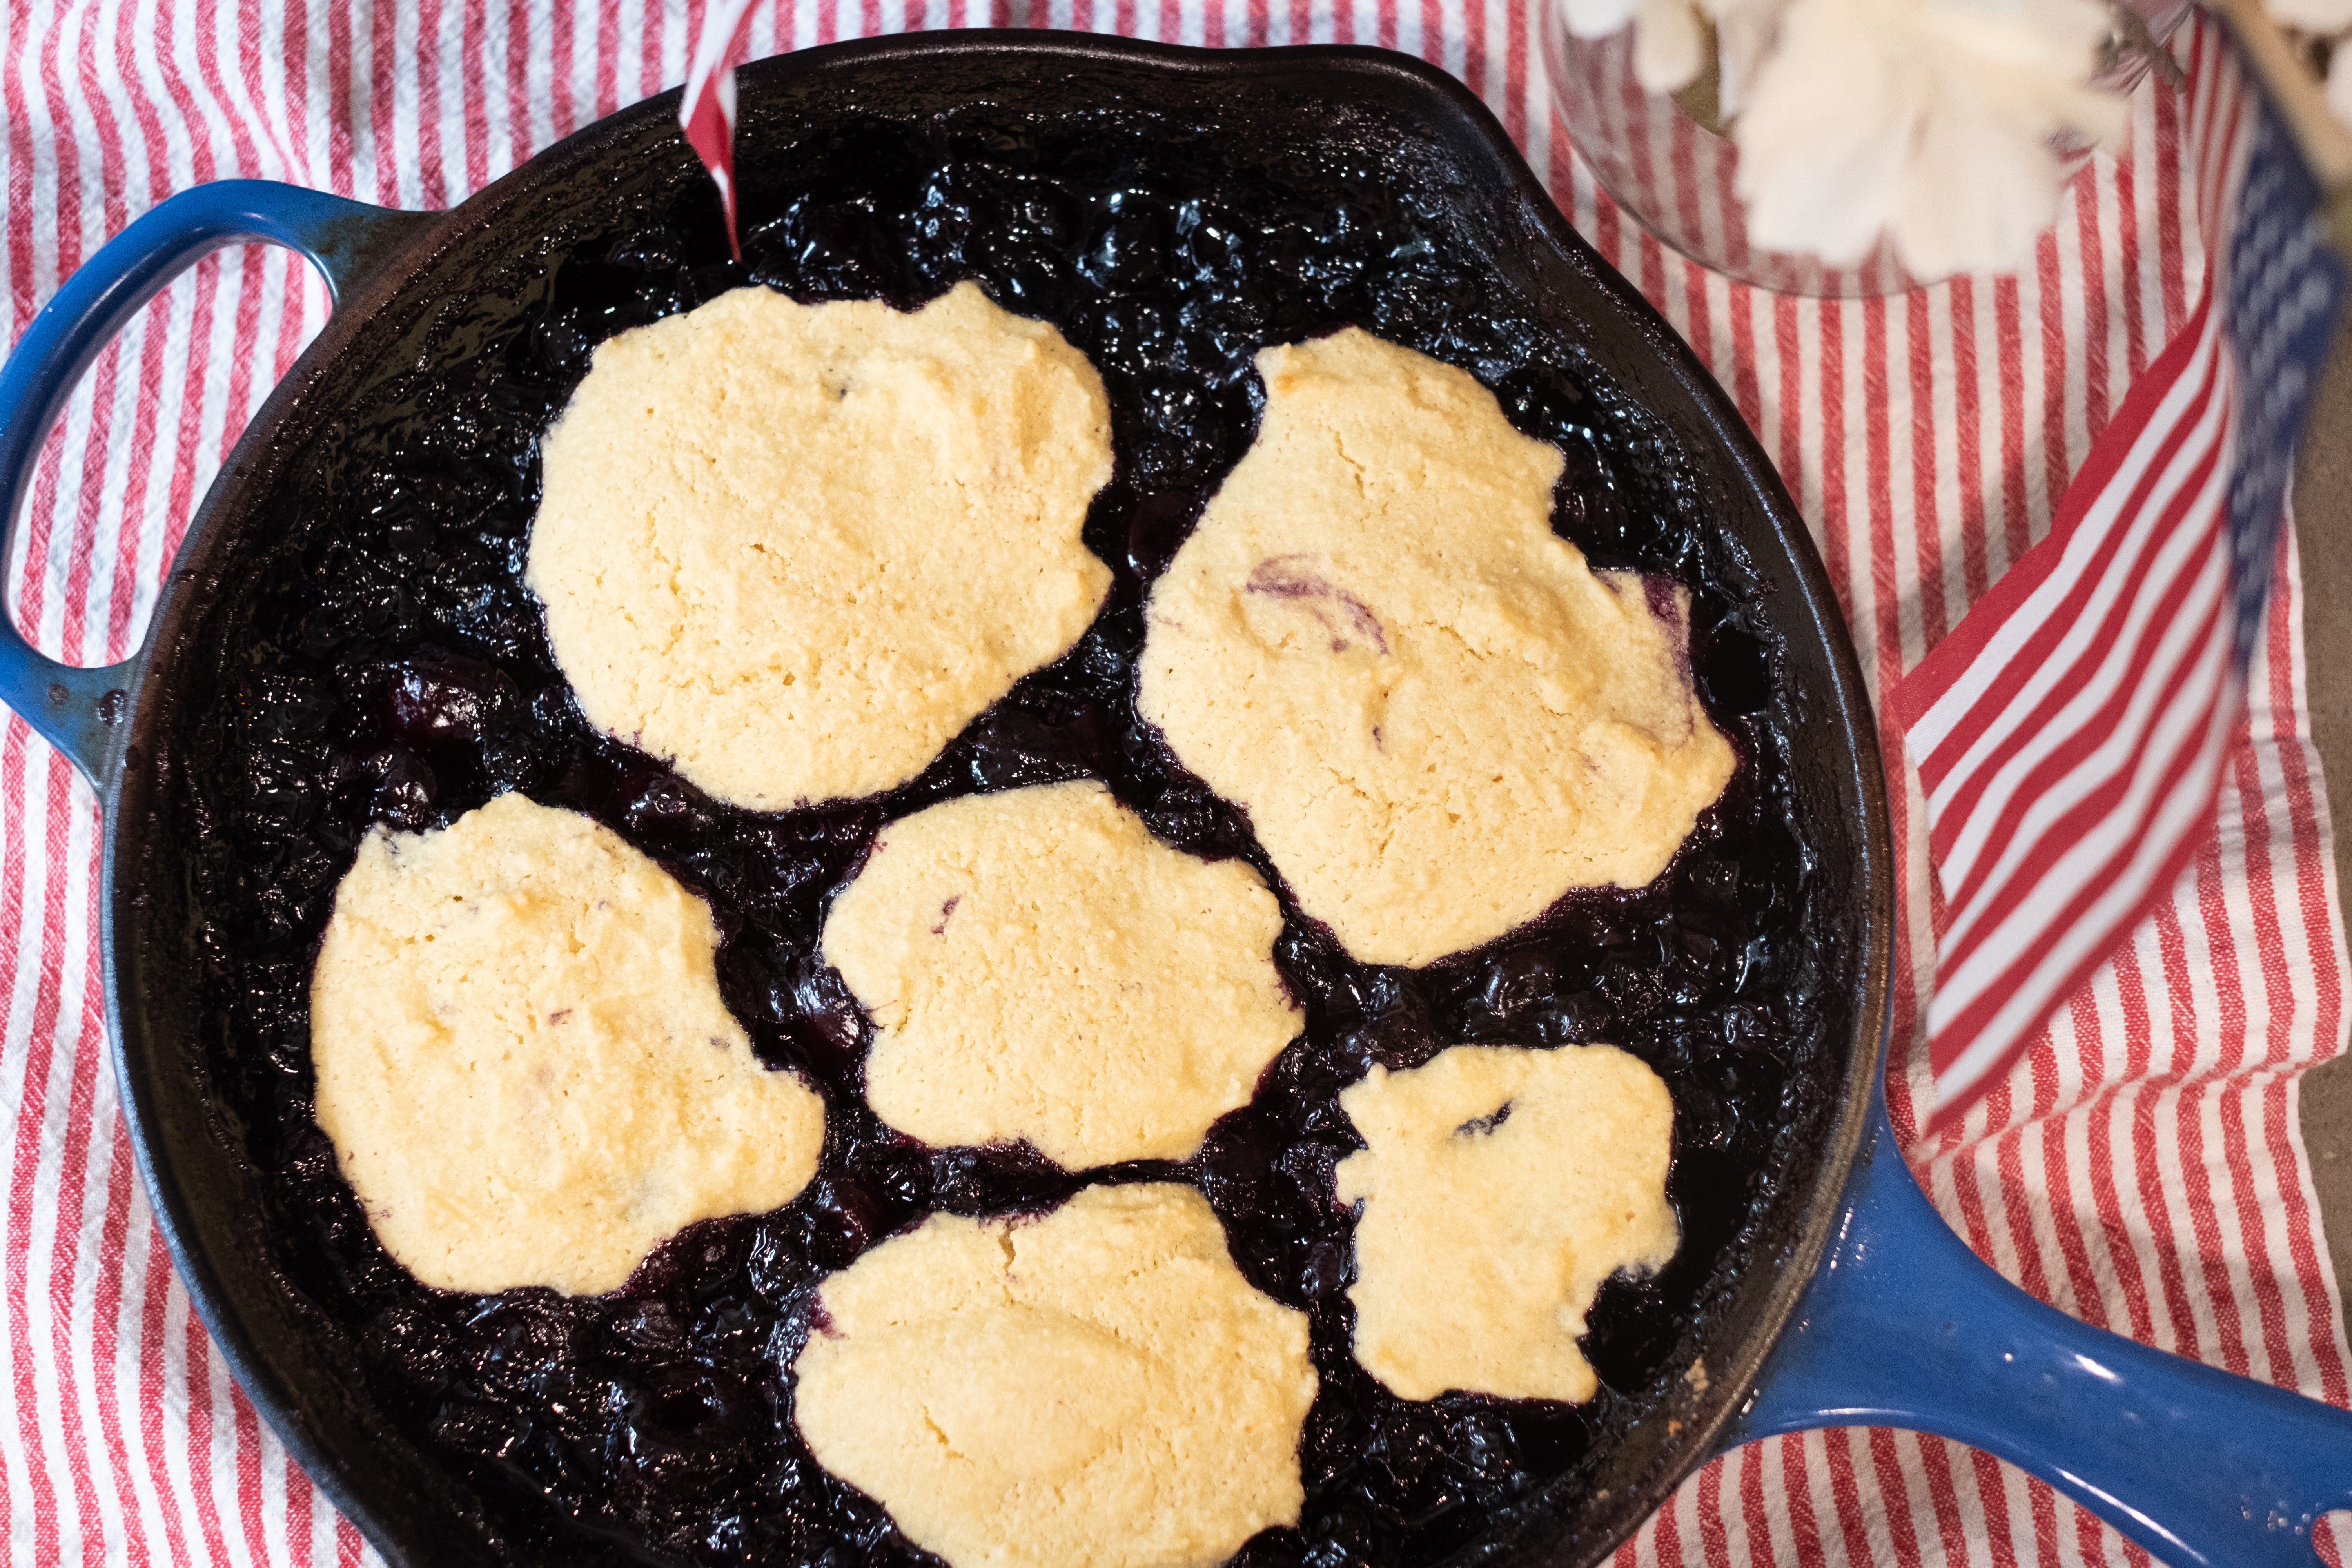
🍒 Grain-Free Cherry Cobbler (with Homemade Vanilla Ice Cream)
A crowd-pleasing summer dessert that just happens to be gluten free
Every summer I can’t wait for stone fruit season. For some reason cobbler feels like the most underrated summer dessert. And let me tell you—this one disappears fast.
This is one of those “you’d never guess it’s gluten-free” recipes. It’s grain-free, naturally sweetened, and totally kid-approved. I’ve brought it to potlucks and pool parties, and I never go home with leftovers. Serve it warm with a scoop of homemade vanilla ice cream and you’ve got a five-star dessert that takes minimal effort but feels like something out of a restaurant.
If you need help with pitting cherries, check this time saving gadget out.
📝 The Recipe:
Grain-Free Cherry Cobbler
Serves 6–8
Fruit Filling:
4–5 cups fresh or frozen pitted cherries and blueberries (I do about 3:2 cherries to blueberries)
1 tsp arrowroot powder
¼ cup maple syrup
A dash of cinnamon
Squeeze of lemon juice (about 1–2 tsp)
Topping:
¾ cup almond flour
¼ cup arrowroot powder
½ tsp baking powder
1 egg
2 tbsp milk (dairy or non-dairy)
1 tbsp maple syrup
Instructions:
Preheat your oven to 400°F.
In a cast iron skillet over medium heat, add the fruit and let it start to cook down. Once it’s juicy and starting to bubble, stir in the maple syrup, cinnamon, lemon juice, and arrowroot powder.
Simmer until reduced by half, stirring occasionally. The mixture should be thick and jammy—this helps it hold up under the topping.
While the fruit reduces, make the topping: in a medium bowl, mix the almond flour, arrowroot, and baking powder. Then whisk in the egg, milk, and maple syrup until a thick batter forms.
Once the fruit is ready, dollop the topping evenly over the surface. It doesn’t need to be perfect—rustic is beautiful here.
Transfer the skillet to the oven and bake for 10–12 minutes, until the topping is golden and set.
Let it cool slightly before serving. Top with a generous scoop of homemade vanilla ice cream (or your favorite store-bought version) and enjoy every bite.
This recipe is part of my bulk prep summer rhythm. I’ll make the ice cream base in a batch and keep it in the freezer for these kinds of impromptu desserts that feel fancy but aren’t fussy. Get the ice cream recipe below:

here.
Let me know if you try this one—I’d love to hear how fast it disappears at your house too.